The thought hit me ( don't you just love early morning revelations)that if I used a thinner fabric where the frame actually is, it might just open easier.
(You may remember I showed you the two coin purses I had made using the 3.5 inch flex frames, that were a little hard to open .) Thinner fabrics are the key. I took a needle felted base, cut it down to size, added a lining to it, then folded the tops down, sewed it together, and pushed the frame in place.
Of coarse it wasn't that easy, the pin that is used to hold the frame in place got stuck about half way in.
Anatomy of a flex frame pin (Pic.A)
 |
| assorted flex frame pins and cotter pins (pic.A) |
You can choose to use hardware store cotter pins instead of the brass or zinc that came with them , or if you loose one, just remember to take one with you to get the correct size and that you will have to trim it with bolt or wire cutters. An advantage to using the cotter pin is you have a nice little handle joint at the top, great for wristlets, backpack pulls etc.
I guess I should mention that on this project I did use a 4.5 frame instead of a 3.5 (pic.B) , on the smaller one I added a wool sleeve onto the pocket, whereas on the larger one the lining made up the frame sleeve.
 |
| 4.5 and 3.5 pockets with flex frame (pic.B) |
 |
| See how easy it opened, and Yes, that is metallic thread, pretty huh? |
 |
| Almost finished, still have to sew the sided, which I will hand sew with #8 Perle thread. |
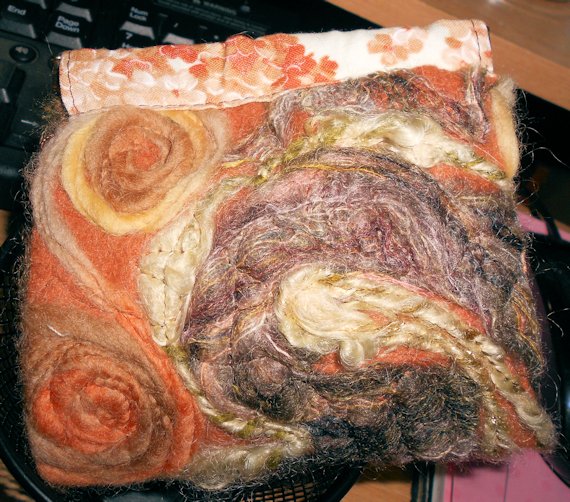
 As promised here is a needle felted piece that I used metallic thread on, it was a Madeira Gold variegated.
The piece here on the right shows the metallic thread on a flat surface, you can make out the color and a little sparkle.


(5 PM)
You'll notice it was the same piece I was going to use a sew on kiss frame with, that didn't happen as I couldn't get it to match up and look nice. I salvaged it and made this instead. The lining is a opalescent teal faux satin that changes color when light hits it.
It came out kind of cute. Unlike the previous brown one above, this one was a lot tighter in the sleeve & has a better closure to the frame.
 -TNfrmgrl
No comments:
Post a Comment